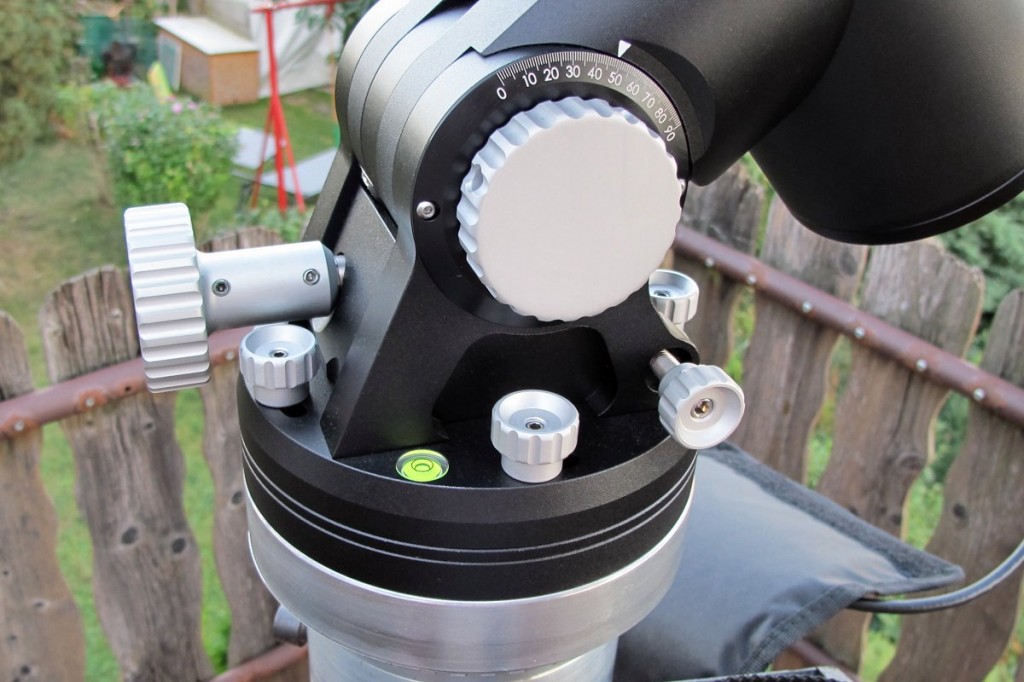
The adjustment knobs with Allen screws, bubble level and pole height scale.
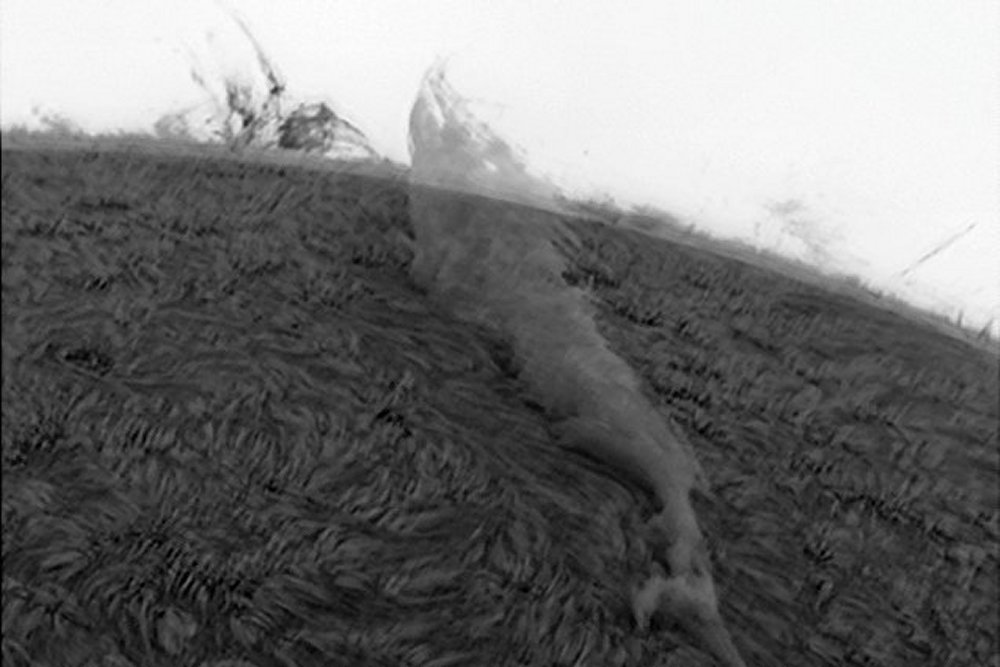
Prominence/Filament "Whale" Negative
August 29, 2012 at 10:45 am, 1/76 sec, Coronado Solarmax 90 with BF 30 H-alpha filter.
Lichtenknecker 125K, 750 mm focal length with Baader FFC 2.5x, 1 875mm focal length
DMK 21AU 618 sum image (135 of 904)

The correction of the polar axis (Polar Align)
Since my youth, astronomical observation and photography has been my great hobby and thus I have used all commercially available mounts of the simplest kind up to motorized trackers with exposed gears. With the order of the GM 1000 HPS now the long-cherished desire is fulfilled, each
astronomical object at the push of a button, to observe and also to photograph unguided.
In the last week of August the big day had come and I could pick up the mount at Baader Planetarium in Mammendorf. Since there is no German manual available yet, I was given the manual of the GM 2000 HPS. The mount is well stored in a shockproof box, the large cardboard box has carrying loops at the ends, so you can also transport the heavy box (here with counterweights and accessories 37 kg) alone. Taking the mount out of the solid, laser-cut foam packaging is not easy on its own. So I simply put the box on the front side and could easily remove the mount standing upright.
When it comes to accessories, "little things" like metric Allen wrench set from 1.5-10mm and packed Allen screws for extra-ordered tripod flange have also been thought of.
The mounting and adjustment screws are very easy to grip and have Allen screws. This allows you to either gently tighten the screws or gently loosen them with the 2.5mm Allen wrench if they are too tight, simply ingenious! The pole height scale is neatly and accurately attached and with the large adjustment screw is very sensitive and precise to set the pole height.
The spirit level bubble is also clearly visible.
The user manual is very detailed and understandable. The setup for remote control of the mount via PC with the crossed LAN cable is as easy as the operation with the "Virtual Keypad" on the screen.
After mounting the GM 1000 HPS mount on the existing steel pillar and roughly aligning it, I observed the sun with the H-alpha telescope around noon. The control with the hand control is precise and after extensive observation of a very large prominence/filament I made a video with the DMK 21 AU618.
Aligning and zeroing the mount is very well described in the manual. Furthermore astro friend Rolf Geissinger gave me good tips and on his advice I used the TMB 80, 480mm focal length, flattener 0.8, IR filter, IDAS LPD 2 filter, the astro camera ALCCD 6c and the astro program MaximDL 5 for alignment.
First, the alignment with 3 stars (3-stars-alignment) was performed. Then the correction of the polar axis (Polar Align). Then the alignment with 3 stars (3-Stars-Aligment) was executed again. Finally 2 times the alignment with additional stars (Refine 2-Stars-Aligment). This completed the alignment and zeroing of the mount.
After aligning and zeroing the mount, I took long time exposures up to 30 minutes with the same equipment in 5 minute intervals to test the tracking accuracy of the mount.
The nebula NGC 6960 with the bright star 52Cyg served as image object. The result is amazing, with 30 minutes exposure time no tracking error! With larger focal length this time will probably not be attainable, but it already shows that the advertisement keeps what it promises: "Unguided photography". Normally the exposure time in our area will be between 10 and 20 minutes.
This mount runs very quietly and about construction / design and application possibilities I can only give a positive verdict: Simply unsurpassed good and perfect !

15.09.2012 at 23:56, exposure time 30 minutes, TMB 80, 480mm focal length, flattener 0.8, IR filter,IDAS LPD 2 filter, astro camera ALCCD 6c, astro program MaximDL 5, Photoshop CS 3
(translated Team Baader Planetarium)
